How to Customize the Add to Cart Button in Squarespace
Want to customize the “Add to Cart” button on your Squarespace shop? In the tutorial below, you can learn how to update the button’s background color, add a border, adjust its shape, change the text color and size, and even style the hover effect, all with just a few lines of CSS! This code is designed to work seamlessly with Squarespace V2’s latest styling updates.
Know Before You Style
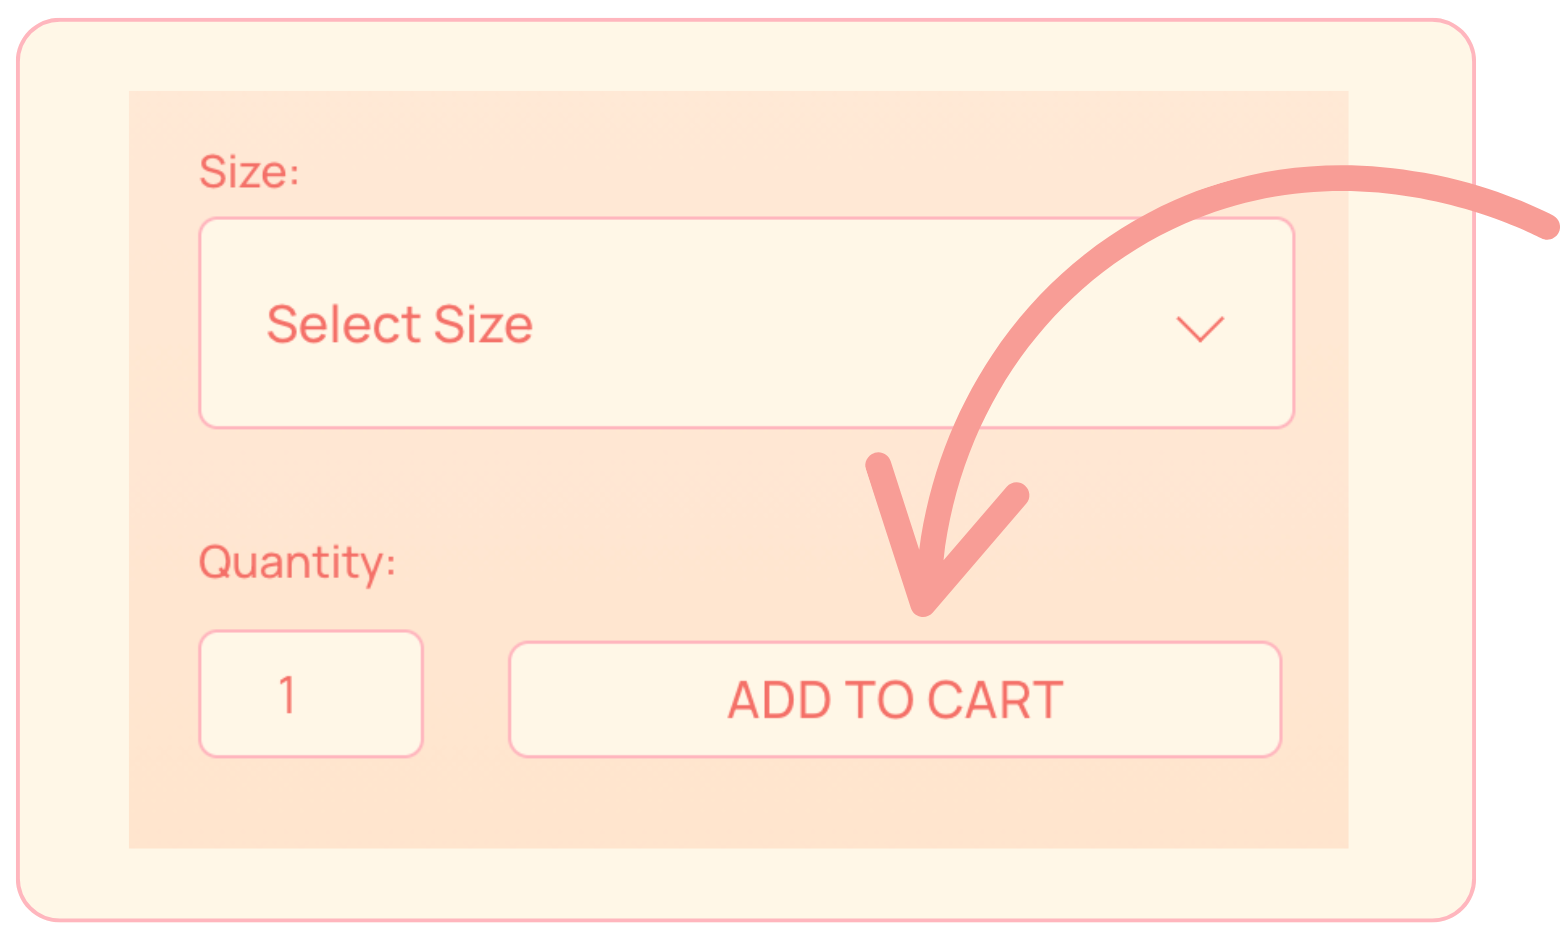
There are three different types of “Add to Cart” buttons in Squarespace, and each has its own code name. You’ll want to target them separately if you want to give each one a unique look or combine the selectors if you want the same style applied site-wide.
You can use this method with any selector, just make sure to change the section name depending on where you want the new text to show up on your site.
Product List – Add to Cart Button
Used for single-variant products; adds item directly from the storefront view.
.product-list .sqs-add-to-cart-buttonProduct List – View Options Button
For products with multiple variants; opens the product details page or option selector.
.product-list .product-list-item .sqs-view-options-buttonProduct Detail Page – Add to Cart Button
Used on individual product pages to add items to the cart.
.product-detail .sqs-add-to-cart-button
How To Add Your CSS
To add your custom CSS code, open your Squarespace dashboard and navigate to Website > Pages. Scroll to the bottom, then select Website Tools > Custom CSS. Paste the code below into the Custom CSS section.
Note: Text in bold indicates the parts of the code you need to customize. At the beginning of each section, you can target specific pages or areas by adding #yourblockid.
You can use this Chrome plugin to quickly find your block’s ID: block identifier.
To target multiple blocks, separate each block ID with a comma. For example:
#yourblockid, #yourblockid, #yourblockid {
Changing The Button Background & Text Color
This CSS code changes the font color and background color of your “Add To Cart” button.
.product-list .product-list-item .sqs-add-to-cart-button {
  color: #F47068 !important;
  background: #FFE9D6 !important; }
Customize Button Border & Shape
This CSS code changes how thick the border looks, what color it is, and how rounded the corners appear.
.product-list .product-list-item .sqs-add-to-cart-button {
  border: 1.5px solid #F47068 !important;
  border-radius: 4px !important; }
Customize Button Size & Font Size
Use this CSS to control button size with padding and width, adjust its placement using margin, and change how large the text appears using font-size. Customize the values to fit your design preferences!
.product-list .product-list-item .sqs-add-to-cart-button {
  padding: 10px  !important;
  width: 50%  !important;
  margin-left: 25%  !important; }
Button Hover Effects
Apply hover styles that adjust the button’s appearance when the cursor is over it.
.product-list .product-list-item .sqs-add-to-cart-button {
  color: #F47068 !important;
  background: #FFE9D6 !important;
  border: 1.5px solid #F47068 !important;
  border-radius: 4px !important;
  transition: all 0.3s ease; }

.product-list .product-list-item .sqs-add-to-cart-button:hover {
  color: #F47068 !important;
  background: #FFE9D6 !important;
  border: 1.5px solid #F47068 !important; }
Full Code Snippet
Here’s a quick reference to help you choose the right button selector for each page. Below is the full code, that combines multiple techniques to create a unique look.
Product List – Add to Cart Button
.product-list .sqs-add-to-cart-buttonProduct List – View Options Button
.product-list .product-list-item .sqs-view-options-buttonProduct Detail Page – Add to Cart Button
.product-detail .sqs-add-to-cart-button
.product-list .product-list-item .sqs-add-to-cart-button {
  color: #F47068 !important;
  background: #FFE9D6 !important;
  border: 1.5px solid #F47068 !important;
  border-radius: 4px !important;
  padding: 10px !important;
  width: 50% !important;
  margin-left: 25% !important; }

.product-list .product-list-item .sqs-add-to-cart-button:hover {
  color: #F47068 !important;
  background: #FFE9D6 !important;
  border: 1.5px solid #F47068 !important; }